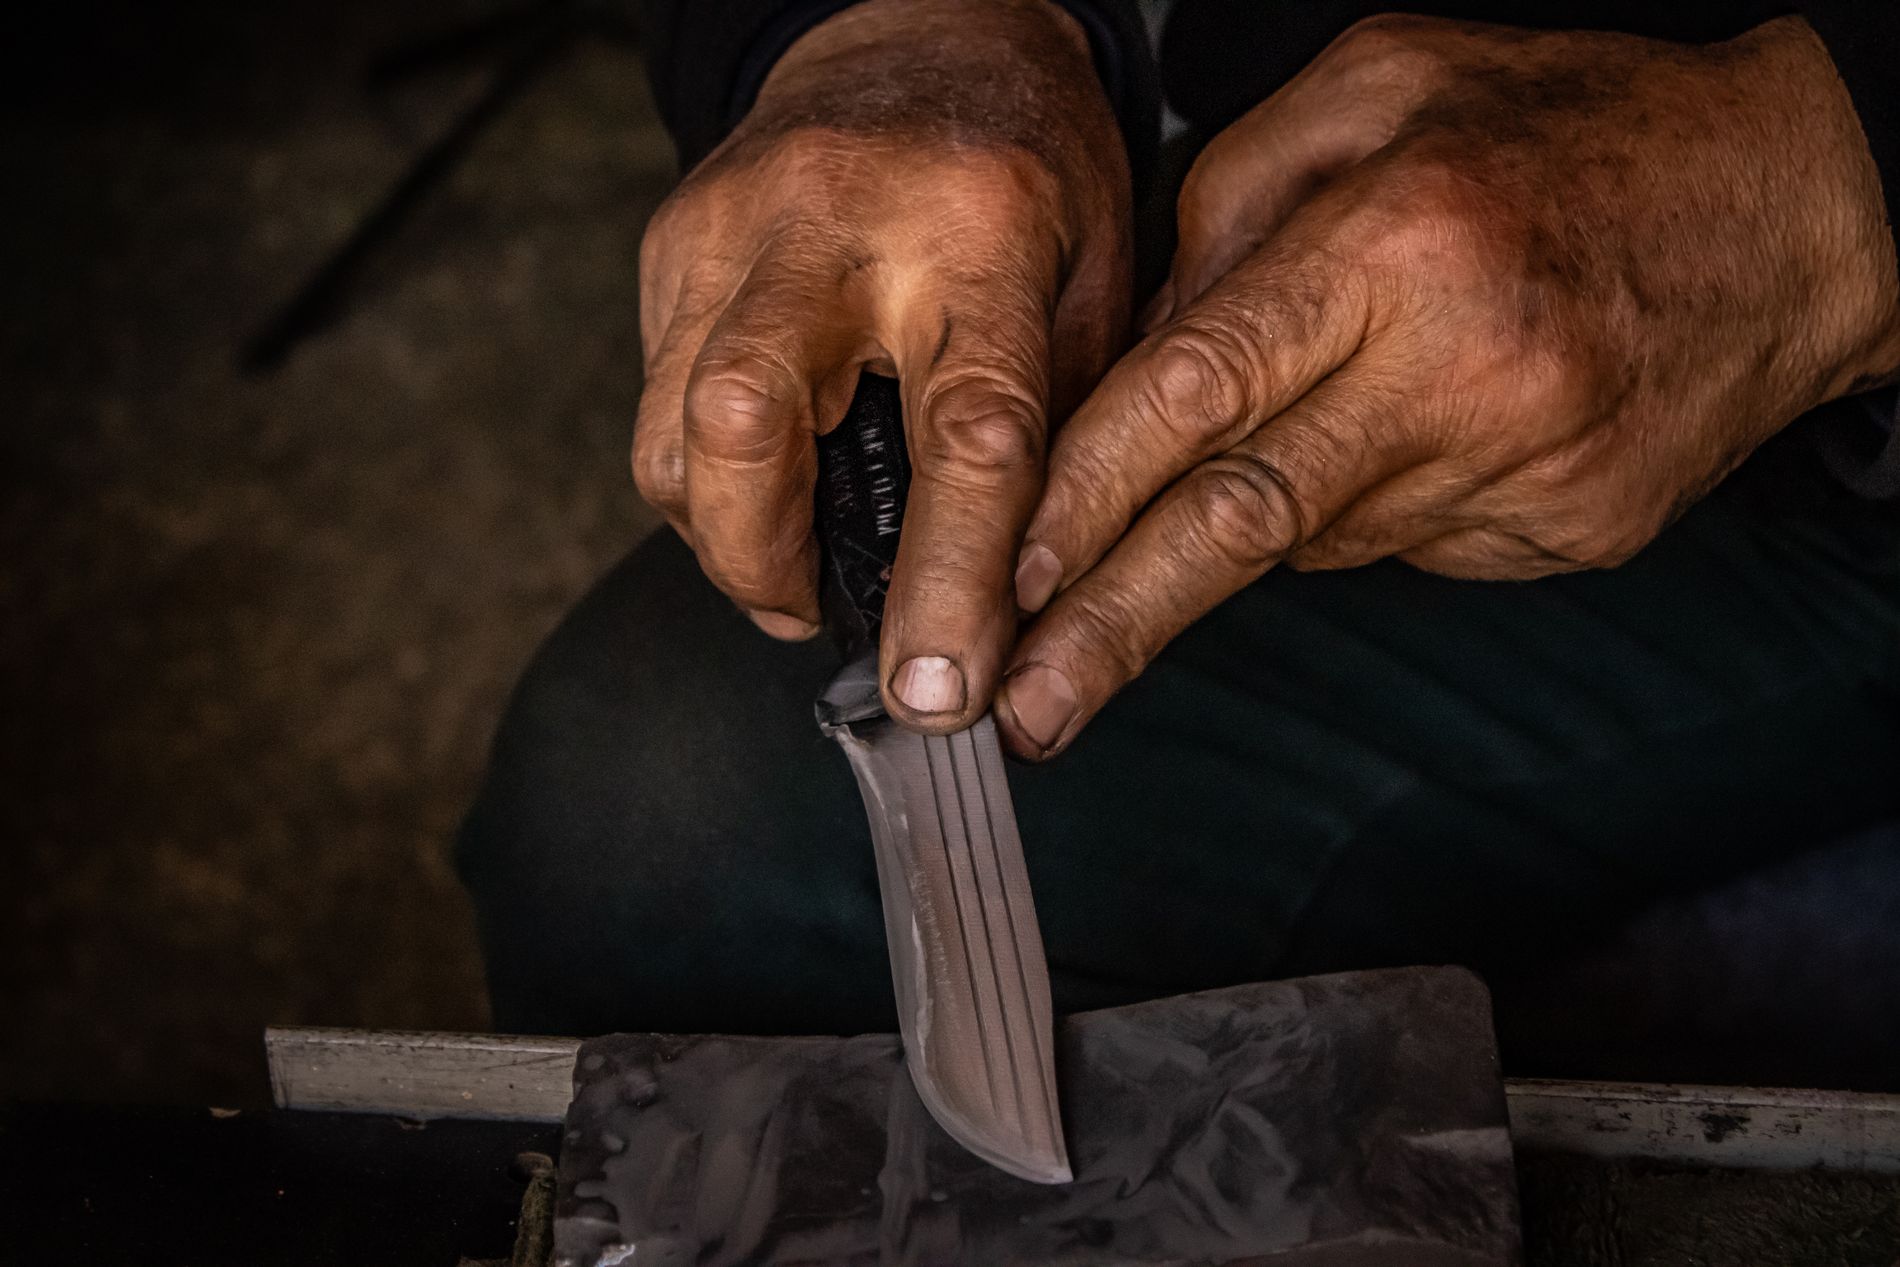
A sharp knife is not a luxury.
A dull knife turns cooking into a small, daily argument. Tomatoes squash rather than slice. Onions slip about. Somebody puts more force into the blade, which is exactly when things become unpleasant. Then they buy another knife, as though the problem was the number of knives in the house rather than the state of the ones already there.
A good edge is not a collector's achievement or an invitation to make solemn videos of yourself slicing paper. It's basic maintenance. We oil the hinges, sharpen the tools and keep the fire drawing properly. We look after things that work.
And here's the encouraging bit: you do not need an expensive sharpening system or a mystical gift for holding angles. You need a suitable abrasive, a stable setup, some patience and an understanding of what you're trying to do to the steel.
What sharpening actually is.
Under magnification, a knife edge is the meeting point of two ground surfaces. Sharpening removes tiny amounts of metal until those surfaces meet in a new, clean apex. That apex does the cutting. A blunt blade can have rounded metal, microscopic rolls, chips, abrasion or a mixture of the lot.
There are three jobs people often confuse. Sharpening removes metal to remake the edge. Honing, particularly with a traditional smooth or grooved steel, can straighten a rolled edge and may also remove a little metal. Stropping uses a leather or other backing, sometimes with fine abrasive, to refine the apex and remove remaining burr. You can maintain an already decent knife with a rod, but a properly dull blade needs to meet an abrasive.
And the old claim that honing steels merely 'realign' edges is an oversimplification. Different rods do different work. A ceramic rod is an abrasive. A diamond rod is a far more aggressive abrasive. Treat them accordingly.
First, learn the two numbers that matter.
Angle decides how thin the edge is. A finer angle can make a knife slice more readily but gives less metal behind the edge. A wider angle tends to be tougher, at the expense of some cutting ease. For many European kitchen knives, somewhere around 15–20 degrees per side is a sensible working starting point. Fine Japanese kitchen knives can use less; heavy-duty blades often use more. Those are starting ranges, not commandments engraved on a wet stone.
Grit describes the abrasive particle size, though grit scales vary between manufacturers. A stone around 800–1200 grit is a very capable everyday starting point for an ordinary kitchen knife. Coarse stones, perhaps 200–400, remove metal quickly and are for major reshaping or damaged edges. Finer stones, 3000 and above, refine an edge; they're useful, but a shiny bevel and an impressive invoice won't make poor technique disappear.
If you're buying only one stone, get a good 1000-grit waterstone and a way to keep it flat. Add a 3000–6000 finishing stone later if you enjoy the process. Spend the money on a stone that lies flat and doesn't shed half its face into the sink, not on a ceremonial wooden box.
The kit that actually earns its space.
- A medium waterstone: roughly 1000 grit, large enough for the blade you're sharpening. Check whether the maker says to soak it or just splash water on the surface. Not all waterstones are soakable.
- A non-slip base: rubber mat, stone holder or a damp folded towel over a stable board. A moving stone makes the whole exercise miserable.
- Water and a cloth: for the stone, surface and cleanup. Keep oil away from stones intended for water unless the manufacturer says otherwise.
- A flattening plate: useful once the stone dishes in the middle. A hollow stone teaches your hands the wrong angle.
- An optional ceramic honing rod: good for quick maintenance between full sharpening sessions, used lightly.
Leave the electric bench grinder alone unless you know exactly what you're doing. It's excellent at removing steel quickly, which is also its principal danger to a good knife: aggressive grinding can spoil the geometry or overheat the edge.
The complete sharpening method.
Start with an ordinary, plain-edged kitchen knife. Don't make your first attempt on an expensive heirloom, a serrated bread knife or a highly specialised single-bevel blade. Put the stone on a stable worktop, clear the surrounding space and work deliberately. Keep the fingers that hold the blade above the cutting edge, never ahead of it.
- Inspect the edge. Look along it under a lamp. Flat spots may reflect light. Small chips need a coarser abrasive than routine touch-up. If the knife is bent, cracked or badly damaged, use a specialist instead of treating the stone like a rescue service.
- Prepare the stone. Follow its instructions for soaking or wetting. Put it on a nonslip base. Water carries away swarf — the fine mixture of steel and abrasive — and keeps the action smooth.
- Find the bevel. Place the blade flat, then raise the spine until its cutting bevel makes contact with the stone. For a typical Western knife use about 15–20° per side as your starting thought, but follow the existing bevel rather than forcing every blade into an arbitrary new geometry. A permanent-marker line along the bevel can show whether you're hitting the edge or polishing the shoulder.
- Sharpen one side in sections. With controlled pressure, move heel, middle and tip across the stone, keeping a consistent angle. A steady back-and-forth motion can work; so can a sweeping stroke. The motion isn't sacred. Maintaining the bevel is.
- Find the burr. After enough passes, a tiny raised wire of metal may form along the opposite side. Check very gently by drawing a fingertip away from the edge, not along it. The burr shows that you've reached the apex. Do not keep grinding hard once you've achieved it.
- Change sides. Repeat until the burr moves to the other side along the full useful length of the knife. Pay attention to the heel and tip — those are where rushed sharpening tends to fail.
- Remove the burr. Reduce your pressure dramatically and alternate sides with a few controlled, light strokes. A persistent wire edge can make a knife feel fantastically sharp for five minutes and disappoint you by the second onion.
- Refine if you want. Move to a finer stone without changing the bevel unnecessarily. Use light strokes. There is no obligation to pursue a mirror finish for a knife that's going to chop carrots.
- Clean and test. Rinse and dry the knife thoroughly. Carefully slice ordinary printer paper held clear of your body, or better still try a tomato on a stable board. It should cut with a controlled movement, not a shove. Wash the knife again before food preparation.
The burr is the lesson.
Most beginners spend all their attention on maintaining an exact imaginary angle and not enough on whether they've actually reached the cutting edge. That's why the burr matters: it is evidence that metal has been worked all the way to the apex.
But developing an enormous burr is not the objective. It is a temporary by-product of sharpening. If you leave a thin flap of metal attached, the knife can pass a paper test and then lose its bite very quickly. Spend more care on the final light alternating strokes than on the bravado of grinding as hard as possible.
How to sharpen an Opinel.
Our favourite pocket knife deserves a proper mention. An Opinel uses a distinctive thin, convex-ground blade that slices beautifully. Opinel's own guidance recommends working around 20° between the blade and sharpening surface for routine sharpening, and the company describes a total pocket-knife edge angle broadly around 30–40°, depending on the model.
The distinction is per-side versus included angle. Twenty degrees per side gives about forty degrees in total. When a guide says '20 degrees' but doesn't say which, an afternoon of confusion follows. Don't grind away the entire blade geometry trying to turn a convex Opinel into a rigid flat-bevel showpiece. Follow the cutting edge with light, consistent sharpening and preserve the knife's thin slicing character.
Clean the blade after sharpening. With a carbon-steel Opinel, dry it immediately and use a tiny amount of suitable food-safe oil before storage. Keep water away from the wooden handle and pivot; a soaked handle can swell and make the blade difficult to open.
What about diamond plates, pull-through sharpeners and a honing steel?
Diamond plates: flat, fast and excellent for difficult steel or repairing a troublesome edge. They also punish heavy hands. They're tools, not instant expertise.
Pull-through sharpeners: convenient, especially simple ceramic types, but coarse carbide slots can remove more steel than is necessary and may impose the wrong angle. They are the fast-food option: sometimes useful, rarely my first choice for a knife worth looking after.
Honing steels: useful for an edge that has lost a little alignment or bite. Use light, controlled passes. If you've already taken the entire thing across a steel forty times this week and it's still blunt, you've stopped maintaining the edge and started performing a ritual.
Leather strops: pleasant for final refinement, especially for knives used in detailed slicing. Don't lean on the edge so hard that you round off the apex you've just spent twenty minutes building.
Five sharpening mistakes that waste a Sunday.
Too much pressure. It accelerates metal removal and makes accurate movement harder. Changing angles halfway through. You'll build several little bevels and never get a clean edge. Ignoring the tip. The blade curves; your movement has to follow it. Working only one side. That's how you grow a stubborn burr and asymmetrical bevel. Never flattening the stone. The centre wears, the stone dishes and your angle wanders.
One more: using the blade against glass plates or ceramic serving dishes. Even a very good edge dislikes being dragged across something harder than the cutting board. Use wood or a suitable food-grade plastic board.
How often is often enough?
When the knife stops cutting the way it should. That's the schedule. A busy professional kitchen and a household that makes pasta twice a week have no business following the same timetable. Hone when needed; sharpen when honing no longer restores the bite. Keep a clean, dry edge, use sensible cutting surfaces and stop throwing your best knife into a drawer full of metal utensils.
With practice, maintaining the edge becomes a quiet, satisfying ten-minute job. The pleasure isn't that you've turned into a master bladesmith. It's reaching for the knife tomorrow morning, putting it through a tomato, and finding that it behaves exactly as it should.
For the other kind of kitchen equipment that repays simple maintenance, read our guide to seasoning cast iron. Good tools should last, and the ones that do usually ask for less ceremony than people imagine.